
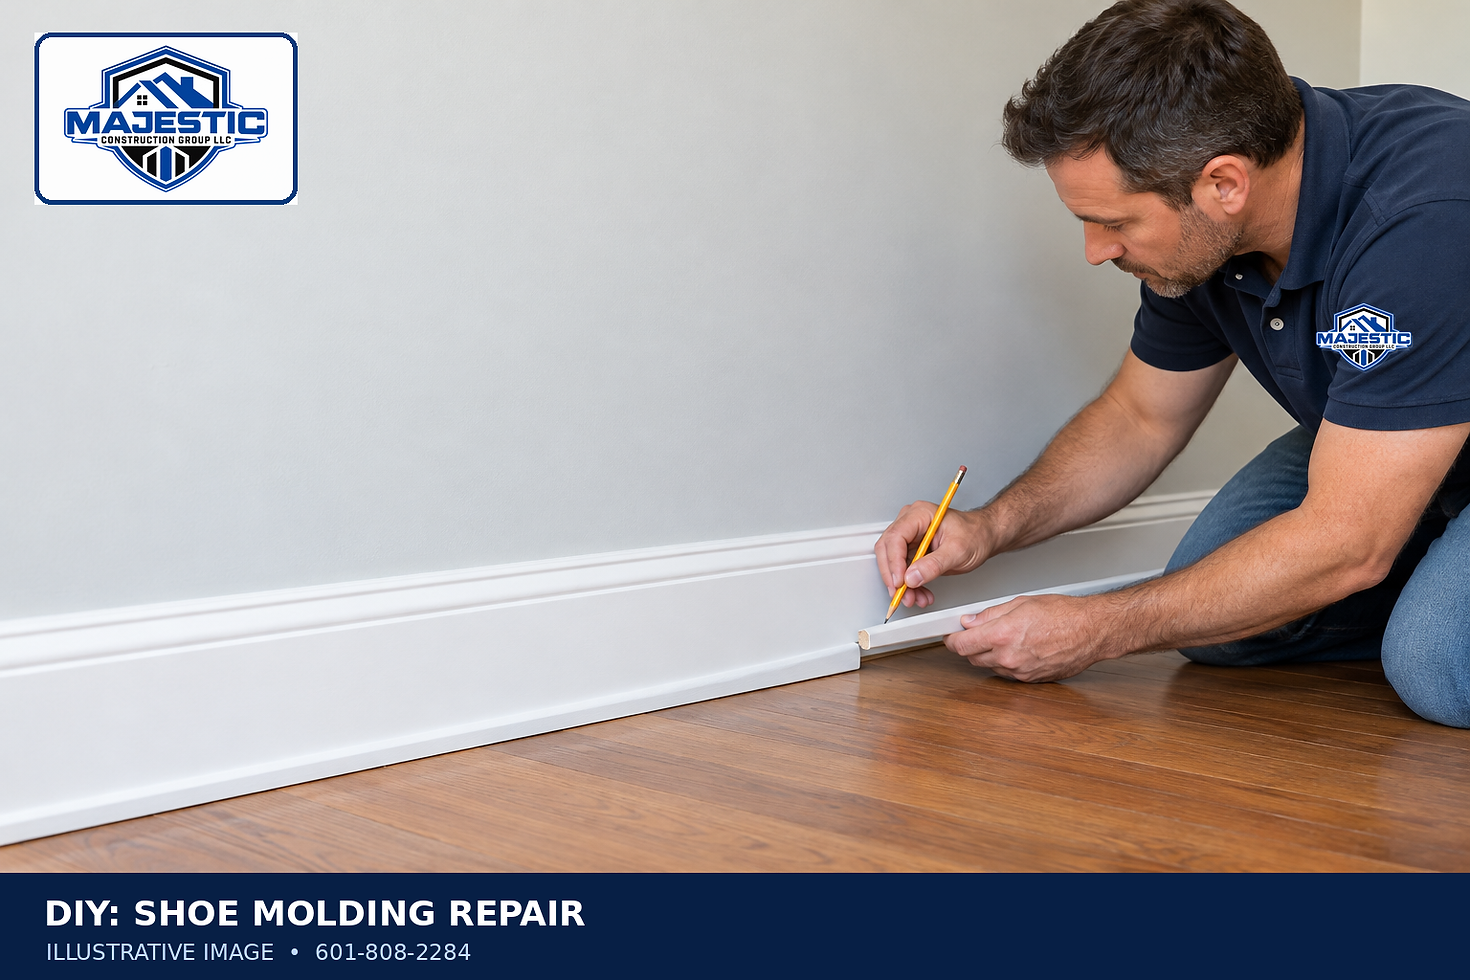
How to Reattach Loose Shoe Molding Without Damaging the Floor


Shoe molding is the narrow trim that covers the small gap between a baseboard and finished floor. A short loose section can often be reset without removing the entire run. The repair should attach the molding to the baseboard or appropriate wall-side substrate—not pin it through a floating floor that needs room to move.
Difficulty: Easy to intermediate. Time: About 30–75 minutes, plus drying time if filler, adhesive or paint is used.
Tools and materials
Small pry tool or plastic putty knife
Hammer and nail set, or hand driver appropriate for the selected fastener
Short finish nails or brads suitable for the molding and known substrate
Drill with a very small bit for pilot holes in hardwood trim, if needed
Wood filler, paint and small brush for touch-up
Tape measure, pencil, painter’s tape and drop cloth
Eye protection and gloves
Safety and limitations
This guide is for one short, sound trim section at floor level. Stop if the baseboard or wall is soft, wet, moldy, insect-damaged or moving. Do not drive fasteners where hidden wiring, plumbing, radiant-floor components or other services may be present. Use the shortest appropriate fastener and follow known framing and substrate information.
Do not fasten shoe molding into a floating floor. Avoid nail guns unless you are trained, know the substrate and can control fastener length and direction. This guide uses careful hand fastening.
Numbered steps
Identify why it loosened. Check for swollen flooring, moisture, a moving baseboard, missing fasteners or a joint that was cut too tightly. Correct water or movement problems first.
Protect the finish. Place a drop cloth and apply low-tack painter’s tape if it will not damage the floor or trim finish.
Ease the section away only as needed. Use a plastic putty knife or small pry tool against a protected baseboard. Do not lever against the finished floor.
Remove failed fasteners. Pull accessible bent or loose nails from the back of the molding when possible. Avoid dragging a nail head across the floor.
Dry-fit the molding. Align it with adjoining pieces and confirm it sits against the baseboard without forcing the flooring down. Preserve the flooring manufacturer’s required movement gap.
Choose safe fastening points. Use prior fastener locations or verified baseboard and framing information. Fasten toward the baseboard or wall side, not downward into the floor.
Pre-drill when necessary. Hardwood shoe molding can split near an end. A small pilot hole sized for the finish nail can reduce that risk.
Hand-fasten the section. Drive short finish nails carefully, keeping the hammer away from the floor. Set the heads just below the molding surface without crushing the profile.
Fill and touch up. Apply a minimal amount of compatible filler to nail holes, let it cure and touch up paint or clear finish to match.
Inspect the floor edge. Confirm the molding is secure, the floor is not pinned and no fastener or sharp edge is exposed.
When to call a qualified professional
Moisture, mold, rot, insects or soft wall material is present.
A long run, multiple joints or curved sections are loose.
The floor is buckling or the molding appears to restrain a floating floor.
Hidden services or radiant-floor components may be in the fastening path.
The baseboard is loose or damaged.
Matching historic or stain-grade trim requires specialized work.
Need trim, flooring or carpentry help?
Majestic Construction Group LLC provides trim, floors, cabinets, built-ins, painting and remodeling in Magee, Mendenhall, Brandon, Pearl, Jackson, Laurel, Hattiesburg and nearby Central and South Mississippi communities. Call 601-808-2284 for a professional evaluation.
Educational safety and liability disclaimer
Educational safety and liability disclaimer: This guide provides general advice only, not a site-specific inspection, professional advice or guarantee. Obey applicable laws, permit requirements and manufacturer directions. Readers bear responsibility for deciding whether to do the work and for independently performing it. Majestic Construction Group LLC does not supervise DIY work or warrant outcomes and disclaims liability only to the extent legally permitted.


Comments