

How to Adjust a Pneumatic Storm-Door Closer Safely

Project overview
Difficulty: Easy, when the closer and brackets are intact and accessible from floor level.
Time: About 15 to 25 minutes, including repeated tests.
Tools and materials
Screwdriver that precisely fits the closer adjustment screw
Screwdriver for accessible bracket screws
Work gloves and eye protection
Manufacturer instructions for the door and closer, if available
A helper to keep children and pets away from the moving door
Safety and limitations
A storm door can pinch fingers or move suddenly in wind. Work on a calm day, keep hands out of the hinge side, and control the door during each test. Do not remove a closer, pull a retaining pin, or loosen a loaded bracket while the door is moving or under tension.
This guide covers the small speed-adjustment screw on a common residential pneumatic closer. It does not cover commercial overhead closers, powered operators, fire doors, damaged safety glass, bent frames, or structural door openings.
Numbered steps
Inspect before adjusting. Check the glass, door frame, hinges, closer cylinder, piston rod, hold-open washer, and both mounting brackets. Stop if glass is cracked, the rod is bent, oil is leaking, the cylinder is dented, or screws no longer hold securely.
Confirm the door moves freely. With the closer functioning normally, open and release the door while standing clear. A rubbing door, loose hinge, twisted frame, or obstructed threshold should be corrected before using the speed screw to mask the problem.
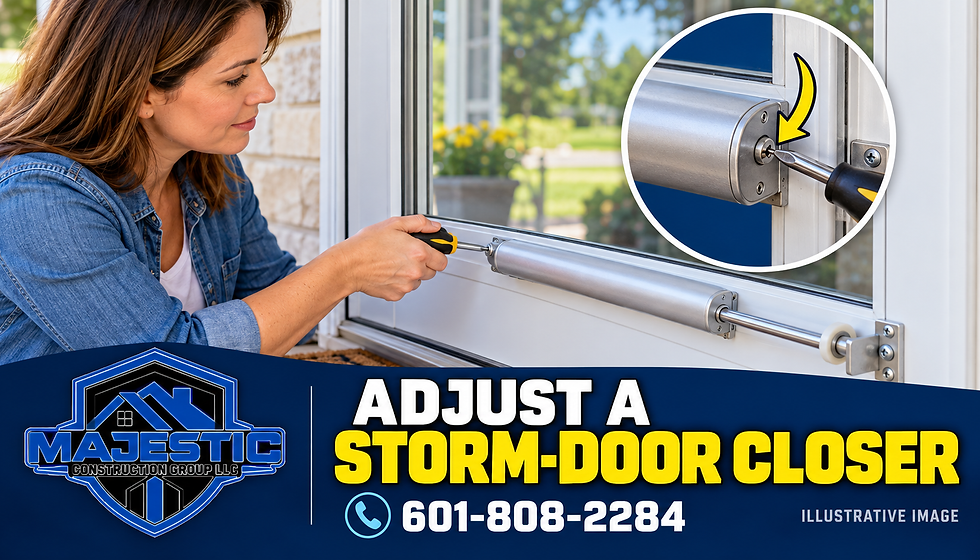
Find the correct adjustment screw. On many residential pneumatic closers it is a small screw at the end of the cylinder. Do not turn bracket screws, mounting pins, or unfamiliar fasteners. Consult the manufacturer instructions if the layout differs.
Record the starting position. Take a photo and, if practical, note the screw-slot orientation. This gives you a reference if the change makes performance worse.
Make one small adjustment. Turn the speed screw no more than one-quarter turn in the direction specified by the manufacturer. Many models slow when turned clockwise and speed up when turned counterclockwise, but designs vary, so the product directions control.
Test from a normal opening angle. Step clear, release the door, and watch the full closing cycle. The door should close smoothly, avoid slamming, and still latch without being pushed.
Repeat in tiny increments. Allow the closer to cycle between changes. Do not back the screw out excessively; it may release internal pressure or damage the closer. Stop if reasonable small adjustments do not produce consistent motion.
Check accessible mounting screws. If a bracket is secure, flat, and undamaged but a screw is slightly loose, snug it by hand without overtightening. Stop if the screw spins, the frame material is split, or the bracket is bent.
Test several times in calm conditions. Temperature and wind can affect closing speed. Verify that the door closes safely from more than one normal opening angle and that the hold-open washer does not interfere.
When adjustment is not the fix
Replace the closer with a compatible manufacturer-approved unit when the cylinder leaks, the rod is bent, internal resistance is inconsistent, or the adjustment screw no longer controls speed. Follow the door and closer manufacturer directions.
Call a qualified door professional when the frame is loose or out of square, hinges are pulling away, glass is damaged, the mounting area is split, or a commercial or code-regulated door is involved. Structural repair and safety-glass work are not appropriate DIY tasks.
Need help with doors or exterior repairs?
Majestic Construction Group LLC assists Mississippi property owners with doors, windows, siding, trim, remodeling, storm damage, and related repairs. For service in Simpson County, Rankin County, Magee, Mendenhall, Brandon, Pearl, Jackson, Laurel, Hattiesburg, and surrounding areas, call 601-808-2284.
Educational safety and liability disclaimer
This guide provides general educational advice only. It is not a site-specific inspection, professional advice, or a guarantee of results. Obey applicable laws and permit requirements and follow all manufacturer directions. Readers bear responsibility for deciding whether to perform the work and for independently performing it. Majestic Construction Group LLC does not supervise DIY work or warrant outcomes and disclaims liability only to the extent legally permitted.


Comments